> For the complete documentation index, see [llms.txt](https://docs.animl.camera/llms.txt). Markdown versions of documentation pages are available by appending `.md` to page URLs; this page is available as [Markdown](https://docs.animl.camera/fundamentals/managing-labels.md).
# Managing Labels
Manage the list of Labels for your project for tidy data annotation
Project Managers have the ability to edit the list of allowable Labels that can be applied to their images. This is a useful tool for keeping image annotations clean and consistent among all reviewers. For example if you’d like reviewers to use “puma” as a Label instead of “mountain lion”, you can enable “puma” and disable “mountain lion”.
An important note, this will not stop a machine learning model from predicting a label (that can be done in [Automation Rules](/fundamentals/automation-rules.md)), but it will stop a person from being able to apply that label on their own.
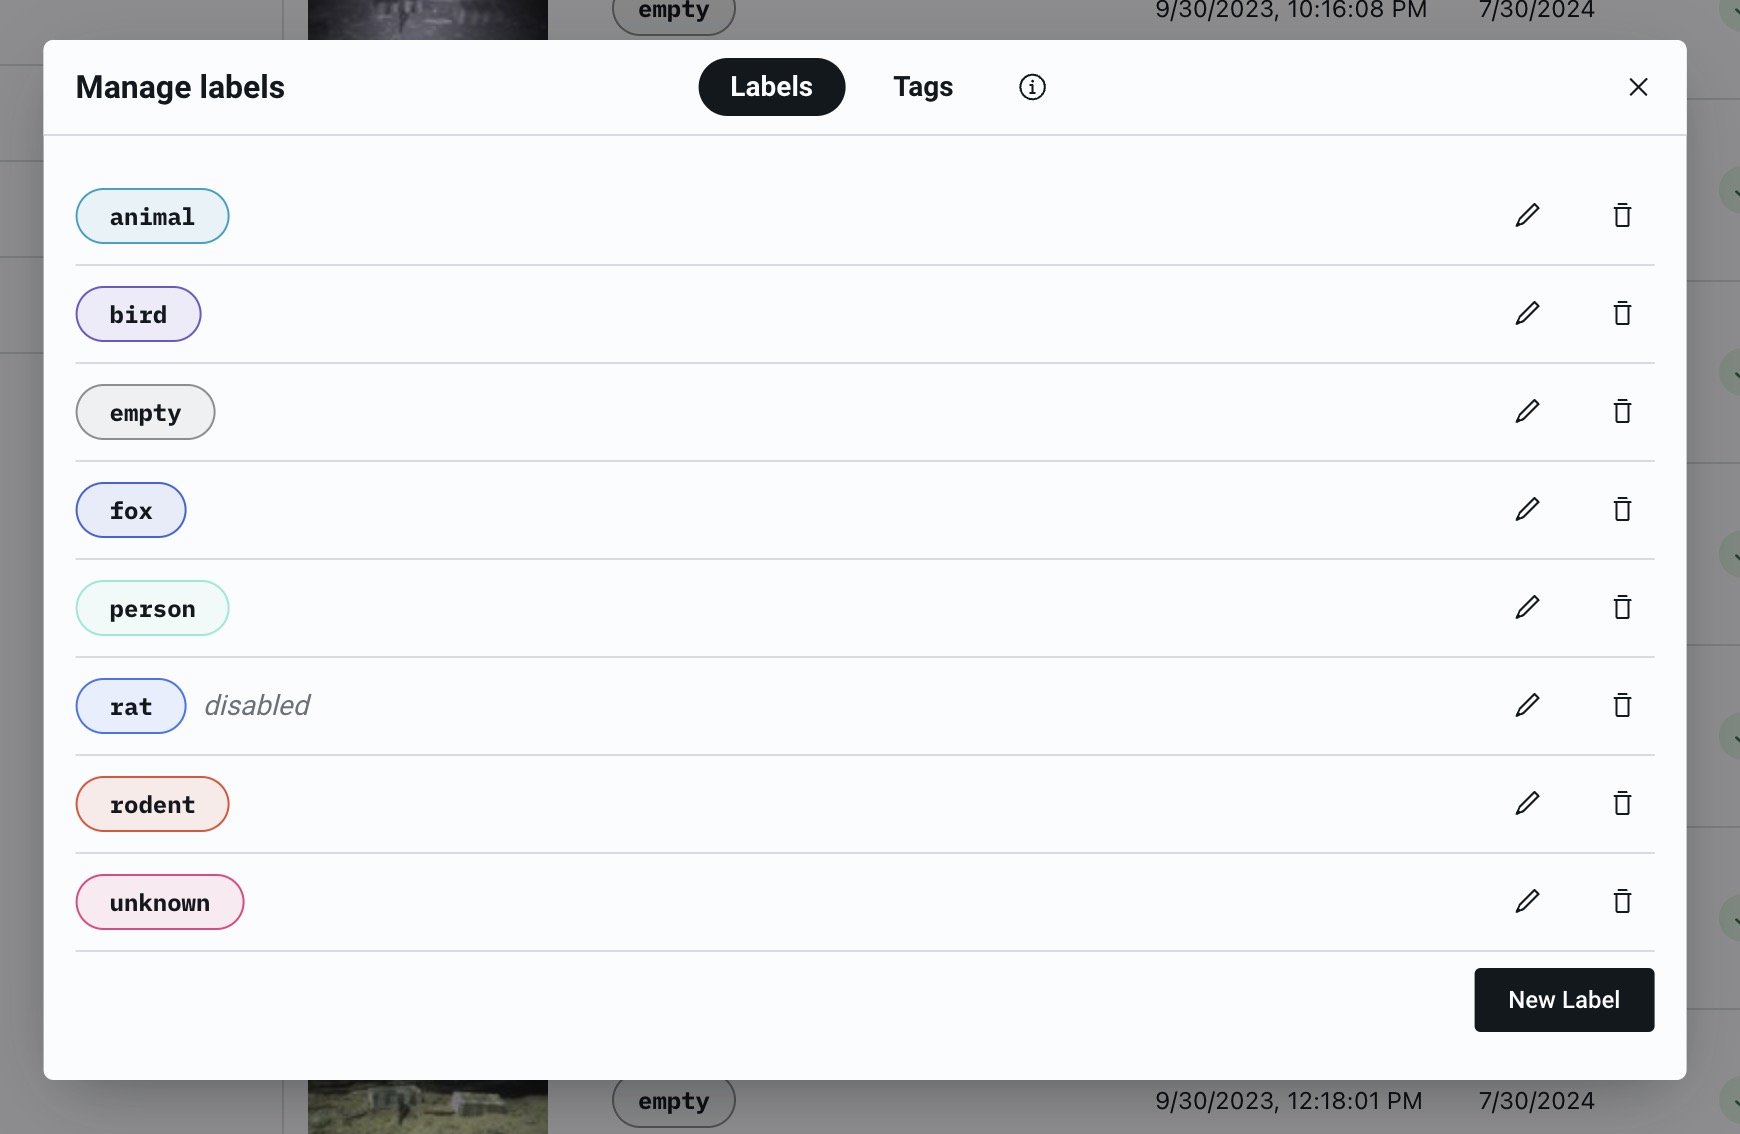
To manage the list of allowable Labels, navigate to the “Manage Labels and Tags” icon on the left sidebar.
Here you can edit an existing Label, delete it, disable it, or add a new Label option.
Manage your Project's Labels and Tags
{% hint style="info" %}
Note: machine-learning-generated *Labels* are added to your Project's list of allowable Labels automatically if any are predicted that aren't already included in your list.
{% endhint %}
#### **To Add a new Label:**
1. Click the "New Label" button
2. Add your desired Label Name and color
3. Click Save.
{% embed url="" %}
#### **To Edit, Enable, or Disable a Label:**
Disabling a label will prevent users from applying it to images going forward, but it will not remove existing instances of the label on your images. To do this:
1. Click the pencil icon
2. Edit the Label, or Enable/Disable it
3. Click Save
{% embed url="" %}
#### **To Delete a Label:**
**Before you do this, you should know that deleting a Label will:**
* remove it as an option to apply to your images (if this is your only goal, this can also be accomplished by "disabling", rather than deleting, the label.)
* remove all instances of it from your existing images
* if deleting a Label, and the Label has been validated as the correct, accurate label on objects, deleting it will remove the Label and unlock those objects, which will revert all affected images to a "not-reviewed" state
This action cannot be undone, so it is normally recommended to disable rather than delete, or reach out to the Animl team if you're unsure what is best for your project.
**To delete a Label:**
1. Click the trash can icon next to the Label you want deleted
2. Type "permanently delete" in the confirmation field
3. Click "Yes, Delete" button
{% embed url="" %}